Teaching students to create personal learning toolkits gives them repeatable structures they can carry between courses and projects. A toolkit collects practical prompts, short templates, and lightweight strategies that support planning, retrieval practice, and reflection. When teachers coach students to design these resources, learners gain a clearer path to independent study and transferable habits. This article outlines why toolkits matter and offers a stepwise method to co-design, test, and sustain them in everyday instruction.
Starting small and iterating with the class keeps this process manageable. The following sections unpack concrete components and classroom moves to make toolkits work.
Why a Learning Toolkit Matters
Students often struggle because study practices are fragmented and context-dependent, which limits transfer across tasks. A learning toolkit gives them a portable set of strategies and artifacts—planners, quick-check prompts, and reflection scripts—that reduce cognitive load. Toolkits also foreground metacognition by making decision points explicit: when to review, how to self-check, and when to seek feedback. Over time, these habits help learners regulate effort and measure progress more reliably.
Framing the toolkit as a student-owned resource increases motivation and makes maintenance part of classroom routines. Teachers play a coaching role rather than a gatekeeping one, guiding refinement and helping students troubleshoot breakdowns.
Core Components to Include
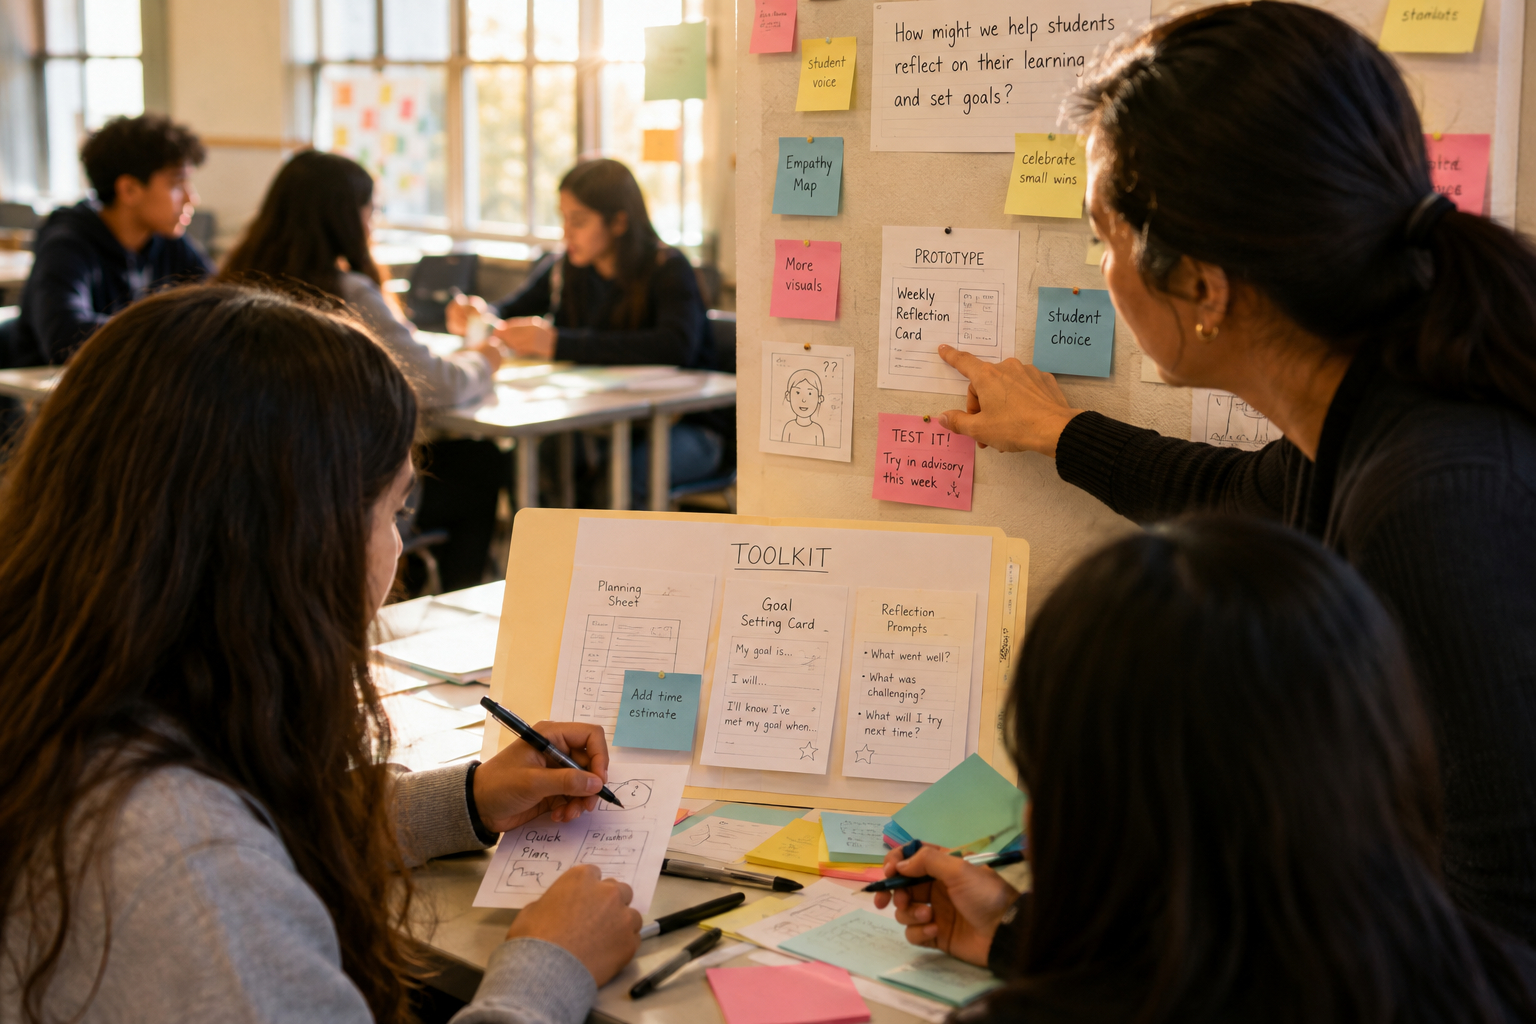
An effective toolkit focuses on a few high-impact elements that students can apply immediately. Include a short planning template that asks for a specific goal, time estimate, and one strategy to try; a retrieval prompt sheet with question stems; a quick rubric or success checklist; and a brief reflection prompt that captures what worked and what to change. Each element should be concise, portable, and easy to adapt to different assignments.
- Planning template: goal, time, strategy.
- Retrieval prompts: three question stems to self-test.
- Reflection script: what to repeat, what to revise.
Keep components modular so students can mix, match, and personalize them based on subject needs.
Steps to Co-Design with Students
Begin with a classroom audit: gather examples of current study routines and ask students which parts help most. Prototype a simple toolkit with student input, pilot it on one assignment, and collect quick feedback through a short survey or discussion. Use that feedback to iterate, pruning or expanding elements and creating a shared digital or paper folder for easy access.
Regularly revisit the toolkit at natural checkpoints so students see refinement as part of learning. Celebrate improvements and highlight examples of successful adaptations.
Sustaining and Scaling Toolkits
Embed toolkit use into routine classroom moments: start lessons with a two-minute planning check, include a mid-task self-check, and finish with a one-minute reflection. Encourage peer sharing so students exchange templates and strategies, which helps scale varied approaches across the group. Provide occasional mini-lessons on how to adapt toolkit items for new kinds of tasks or more complex projects.
Over time, small, consistent uses make the toolkit an automatic part of students’ study workflows. The teacher’s role shifts toward coaching and troubleshooting rather than prescribing every step.
Conclusion
Helping students build learning toolkits equips them with reusable structures that support independent study. Start small, co-design with learners, and iterate based on classroom feedback. With routine use and teacher coaching, toolkits become durable supports for transferable learning habits.